The art of photography is continually evolving. It began with a pinhole camera and progressed to today’s mirrorless sensors. The pursuit of aesthetic perfection continues. The ability to capture photographs from the air is a game-changing innovation.
Although Drone photography is not new, its impact on the industry is extraordinary. It used to be necessary to fly in a helicopter or airplane to get the viewpoints that are now possible when photographers utilize drones to snap photos with their feet on the ground. This article will show you how to take professional drone photography photos.
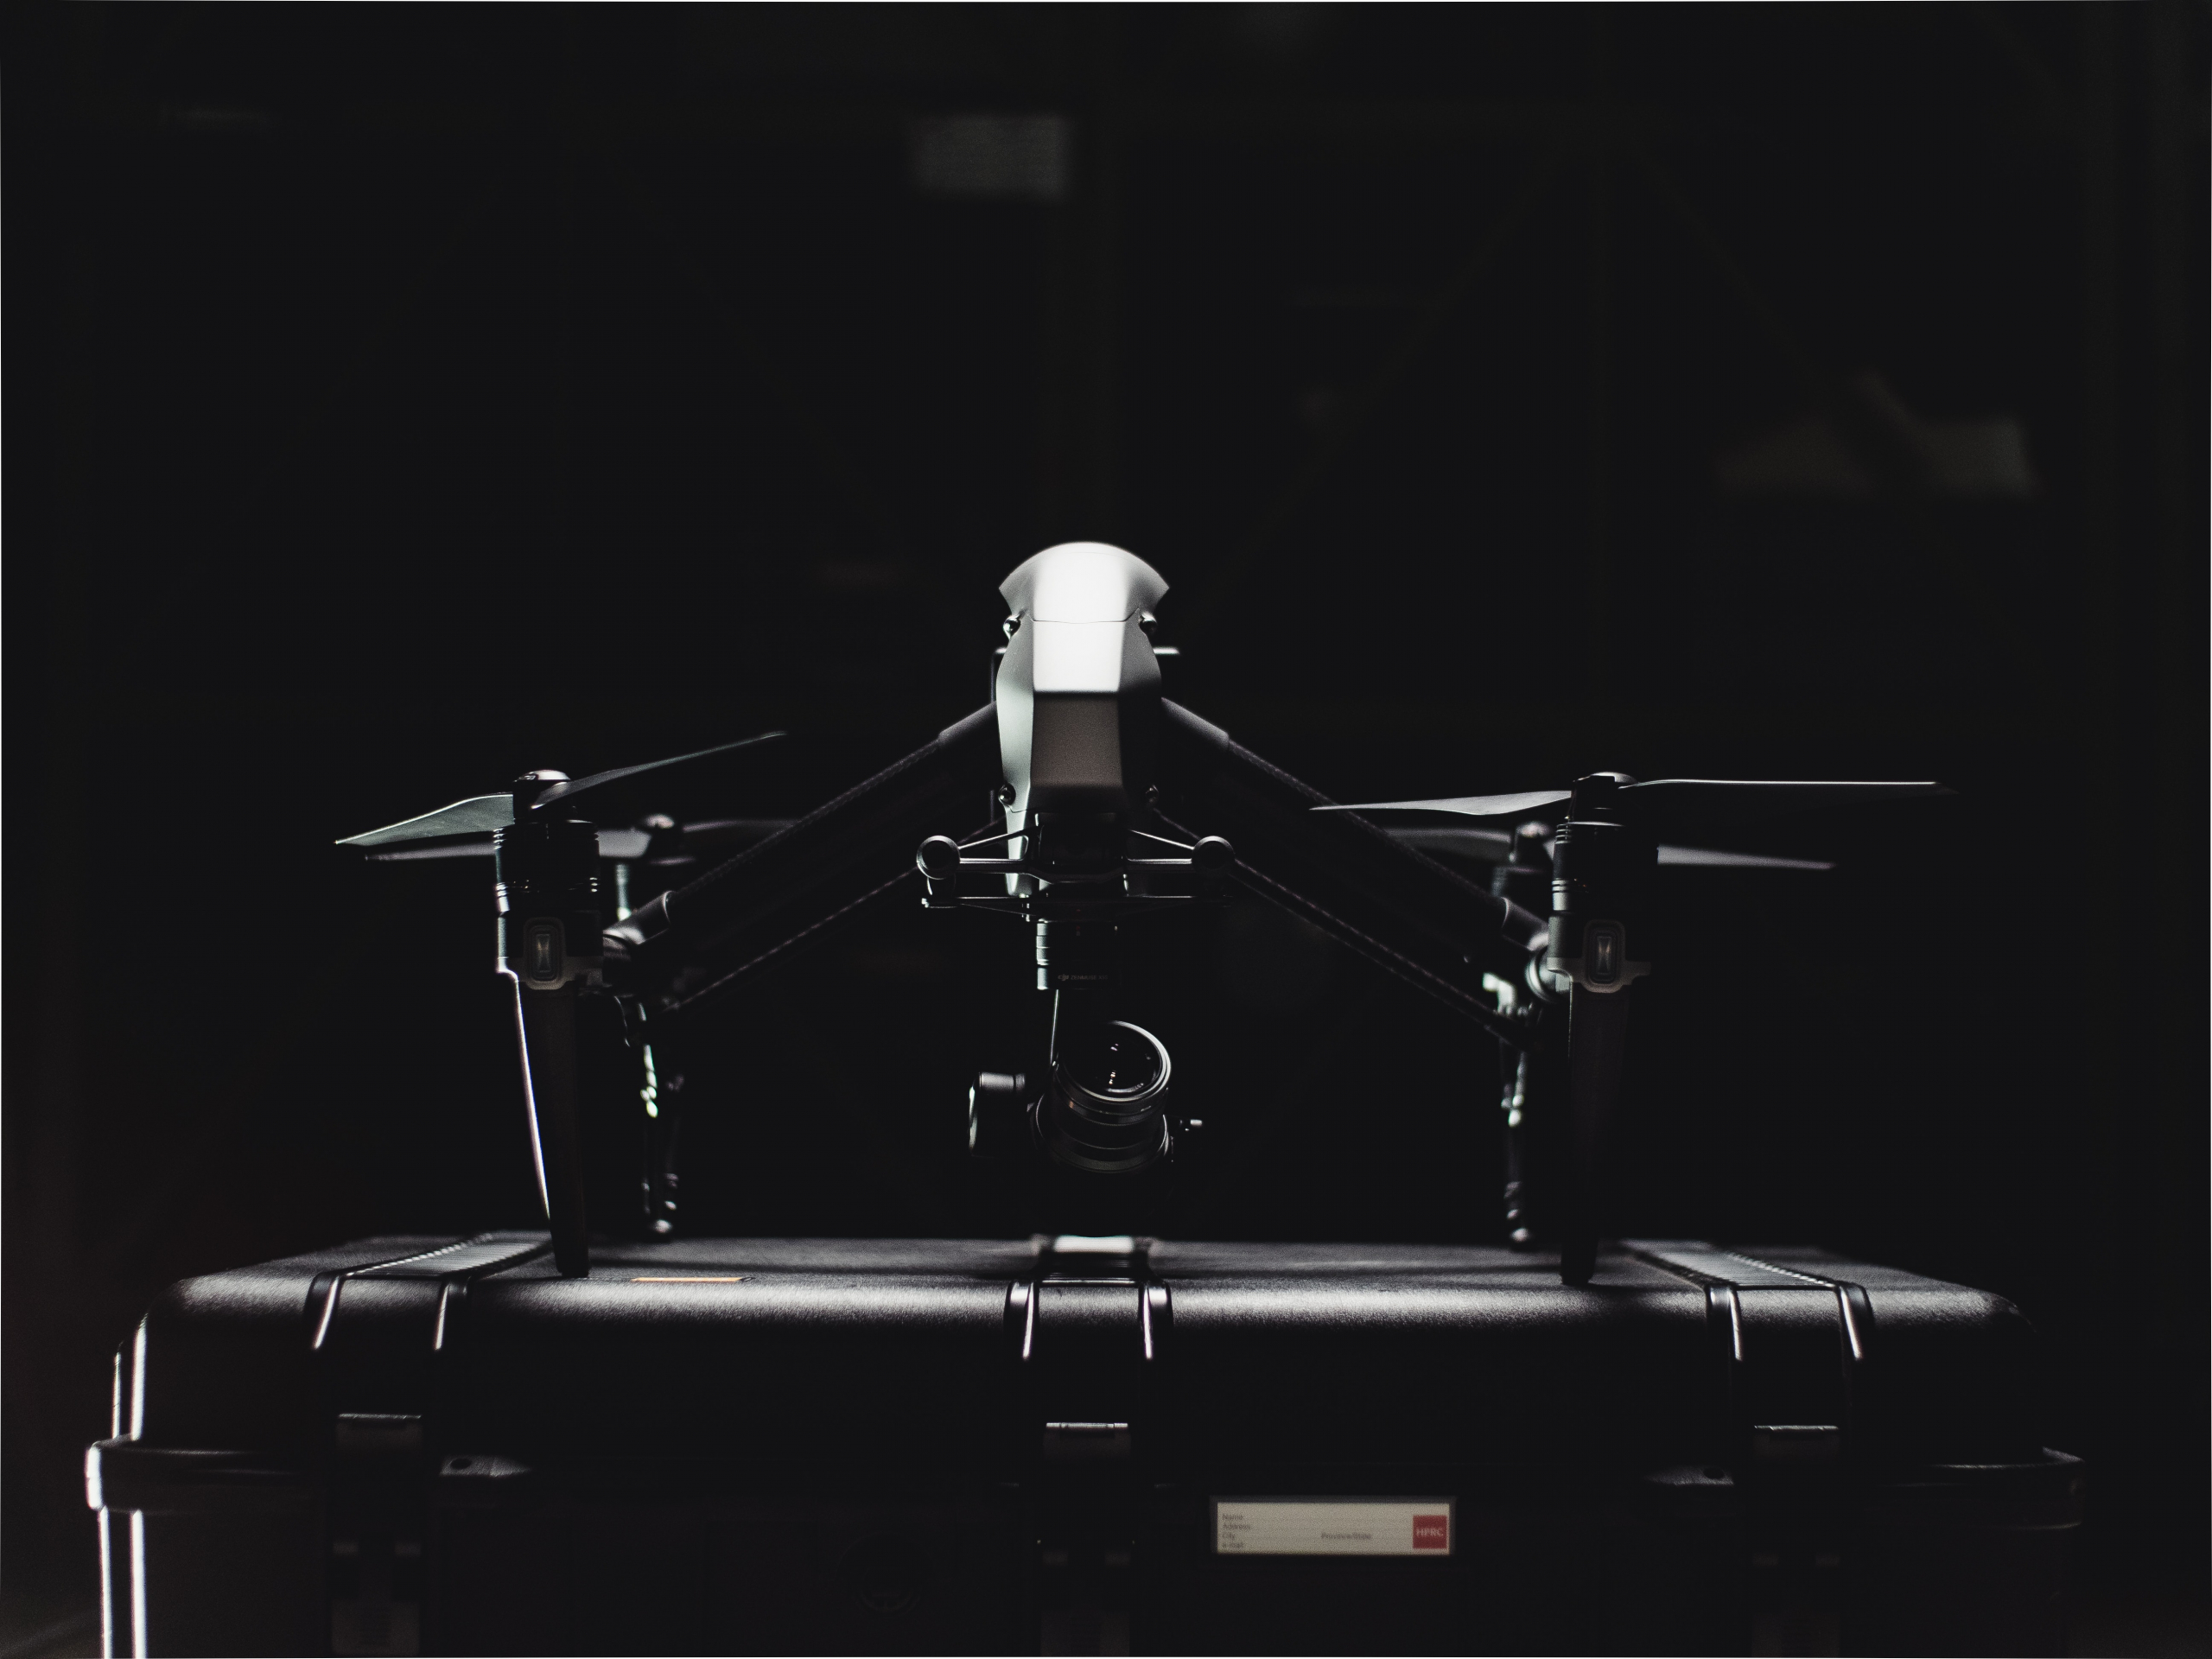
Invest in a Good Drone

Although you may be tempted to purchase a drone capable of flying a professional DSLR, most remote pilots start with a consumer-grade UAV with a built-in camera. While attempting to acquire images with a drone, you must become proficient in its operation.
It’s also crucial to know what you require from a particular model. Drone technology has progressed, but onboard cameras are still lagging professional-grade cameras. The following questions will assist you in determining which aerial photography drone model is appropriate for you.
Is it necessary for me to shoot in raw?

When it comes to post-production, photographers need to shoot in raw. Taking photos of landscapes from the air provides a similar difficulty, requiring high-contrast situations and flexible editing. Raw formats are included into many recent drone models. Some older and less costly models may only shoot in jpeg. Invest in a raw-capable system if you want professional-looking photographs.
What are the required megapixels and sensor sizes?

The number of pixels produced by the sensor and how well it handles low light are important factors for quality fans. The sensor on a drone has a significant impact on image quality and camera cost. Consider a model that allows you to take 20 MP stills for clients or print photographs as art.
A one-inch CMOS sensor is included in most 20 MP cameras, allowing the ISO to be increased in low-light circumstances. If your drone photography is confined to sharing on social media platforms, a 12 MP or smaller camera will suffice to capture spectacular views in reasonable resolution.
What level of adaptability is required?

Drone photography is by its very nature risky. The amount of space a drone will take up in a pack is a big component of this debate. The ideal mix of portability and image quality, according to the drone community, is a 20 MP camera that weighs around 5.5 pounds. It’s simple to use in any setting. If image quality is your major concern, you should look for a larger, more economical model that captures photographs of comparable quality.
Practice Flying in a Safe Manner

The first time a drone takes to the air is the most terrifying. Each flight operation must be carried out with extreme caution. It’s easy to see how amazing drones are at not falling out of the sky after a day of practice.
Most folks who fly drones on a regular basis say it’s simple. When aiming to capture magnificent views, remember the mantra, “Fly first, capture second.” Do not put the desired shot ahead of injuring someone or losing the drone. When flying a drone, there are a few basic rules to follow to protect your safety while taking pictures. They are
- Maintain a clear line of sight. You can easily become engrossed in a scene as it plays out on the controller monitor and miss the drone that is approaching a tree line that is hidden from view. Before you launch the drone, make sure you’re in a position that maximizes the field of view.
- Pay attention to the weather, especially the wind. One of the primary causes of accidents is bad weather. The wind velocity that each model is capable of handling in flight varies. It is the pilot’s obligation to discover what weather conditions are appropriate for flying. If the battery runs out or the winds are too fierce, a drone that can stay aloft may be impossible to return to.
- Maintain your composure. It’s not uncommon for a drone’s video feed to be lost in mid-flight. When this happens, pilots typically become panicked and believe the drone has vanished or crashed. This is another reason to maintain a line of sight. Most drones have a return-to-home button that overrides a lost video signal.
- Do not fly more than 400 feet above the ground. This is a rule that has been repeated many times. The sensitivity to heavy winds rises while flying 400 feet above the highest structure or elevation.
The process of capturing photographs over videos eliminates the cinematic maneuvering needed to achieve specific shots. You want to be a skilled drone pilot before becoming a professional drone photographer.
Shooting Modes and Exposure Settings

Before a drone leaves the ground, it is wise to select the shooting mode, adjust the exposure settings and be sure the gimbal has calibrated.
Shooting Mode

Drones, like a DSLR, come equipped with manual, shutter speed, aperture, and automatic modes that allow the pilot to operate based on overall need and experience level. It is recommended that beginners try automatic settings while getting used to flying. They gradually build in more control as their comfort level increases.
Manual Mode Benefit

Having complete control of the camera is the best means of achieving desired drone image aesthetics. It is impressive how often auto mode produces a quality image. When a pilot starts to experience flight instability or low light, they understand which settings complement their aerial photography. When a pilot encounters flying instability or low light, he or she knows which settings are best for aerial photography.
Speed of the shutter

The fundamental determinant of image clarity is shutter speed. During a calm day with no wind, recent drones are capable of exposure periods of several seconds. A tripod mode is used to do this. Shutter speed is critical for adequately exposing a scene. Many drones have an f/stop limit of 11 or less. To avoid an overwhelming amount of light hitting the sensor, a faster shutter speed may be required.
Another way to reduce light is to use neutral density filters. When determining the shutter speed, the length of the lens is doubled as a rule of thumb. Consider additional parameters, such as the drone’s 24 mm equivalent. Unless you’re using a tripod or shooting in stable air, don’t shoot anything faster than 1/50 of a second.
Aperture

ISO

Variable apertures are a newer technology. The f/stop on most older drones was 2.8, which reduced the depth of focus and allowed too much light for lengthy exposures. Lenses on newer models range from f/2.8 to f/11. f/5.6 is the sharpest.
The ability to increase the ISO is the sensor’s major flaw in drone cameras. After ISO 400, they start to strain. When an open aperture and shutter speed are insufficient, most expert real estate photographers increase the ISO beyond 200.
Automatic Exposure Bracketing used during the shoot

AEB mode is a technique commonly employed in drone real estate photography, landscape photography, and any situation with a large contrast range. It can take up to five exposures in a single shot, allowing the images to be masked and blended for a wider dynamic range.
Profiles of Color

Setting a color profile while capturing is another important factor for the dynamic range and appearance of photographs. The image’s histogram is adjusted, which evens out shadows and highlights, boosts saturation, and cools the white balance. Color correction is easier on raw pictures than on video.