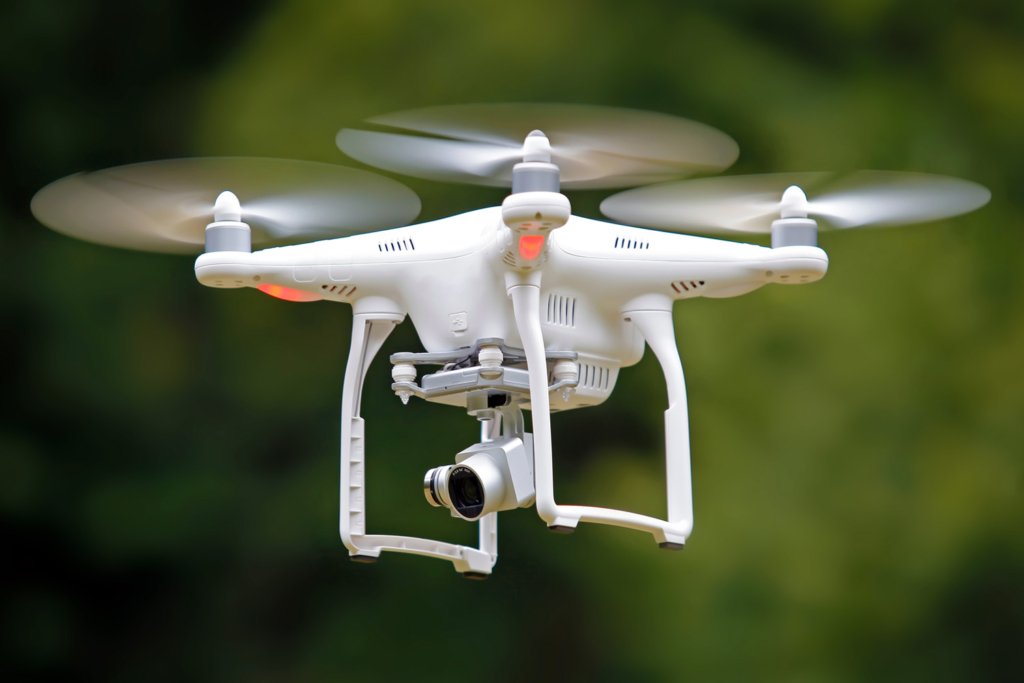
Aerial Photography used to include hiring a photographer who could fly a helicopter and snap images while leaning out of it. You can now capture the same shots securely and effortlessly with drone photography.
When drone photographs are beautifully captured, they quickly captivate the attention of the spectator. Because photography is an art, there is no written handbook for capturing the best photographs, and there are no drone photography principles that guarantee amazing shots. Photos are attractive because of practice, devotion, and consistency.
You may become an expert with an eye for the optimum camera settings, perspective, and aerial viewpoints with a good drone and some practice. Great images make you wonder how someone came up with such creative, eye-opening shots.
Some strategies and pointers will be beneficial. Five of them are listed below. Most of the suggestions are applicable to both ground and aerial photography. Have fun flying while learning about drone photography.
Choosing a Drone
Start by choosing a drone that provides a high-quality camera for video and photography within your budget. There are a variety of models on the market at a range of price points. Luckily, imaging sensors improve the quality of images, engine and batteries are getting smaller, costs are coming down, video and image resolutions are going up, and there is an increase in flight times.
Lighting
When it comes to taking amazing images, light is crucial. Indoor drone photography necessitates the use of a flash or other light source to brighten the image. The lighting device, sometimes known as a flash, works in tandem with a drone to produce stunning results.
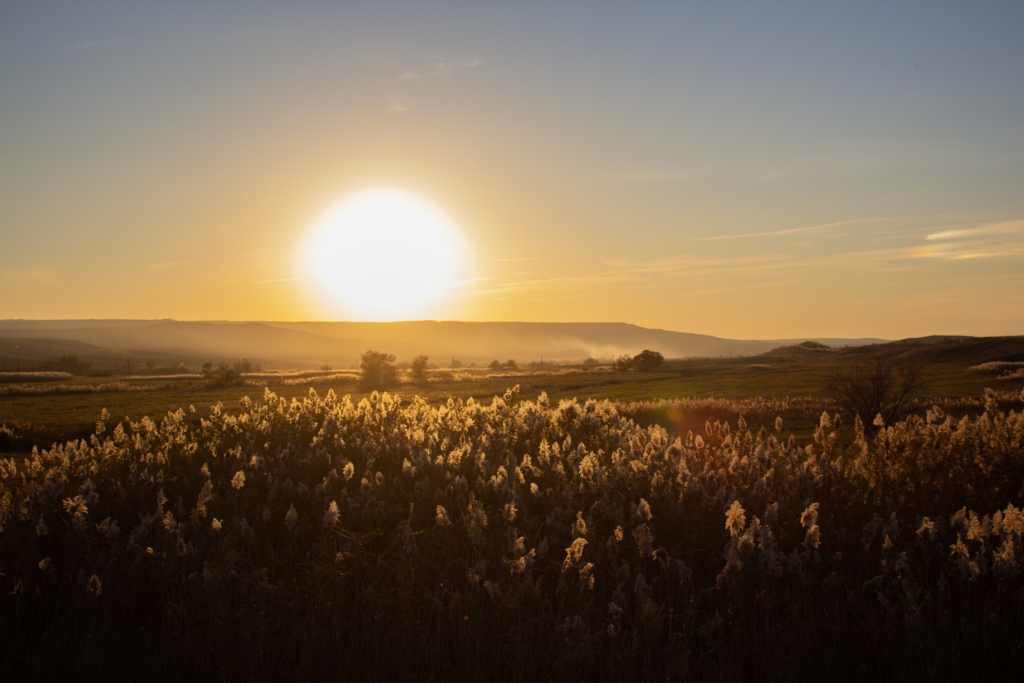
During the day, outdoor drone photography uses natural light. The sun is the best source of light for taking great images. Utilize pole lights, flashlights, large lamps, and other light sources at night. In low-light situations, the shutter speed of the camera is crucial. It must be modified according on the amount of light available.
Shutter Speed
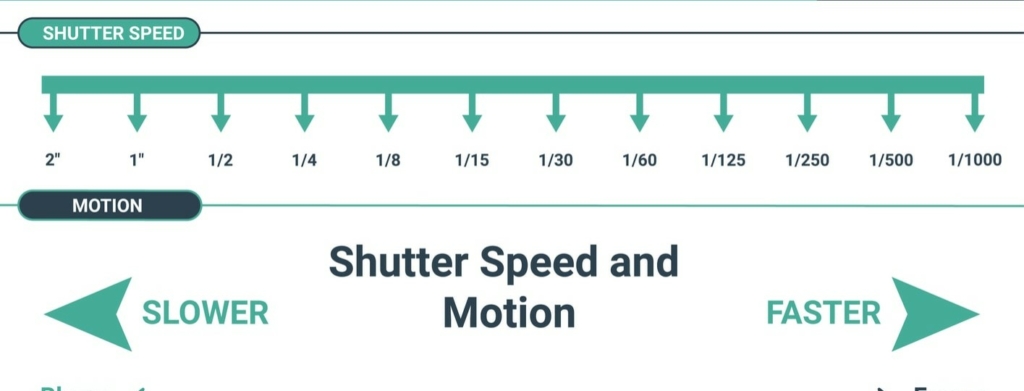
To create a portrait that resembles a painter’s sketch, the shutter must be set to a slow speed. To avoid wobbly photos, use the tripod mode. When using a slow shutter speed, keep an eye on your subject to ensure it does not shift from its original position. Amazing outcomes can be achieved with a steady camera and subject. Fabric papers or light tents might let you take advantage of harsh light.
Cropping a Photo
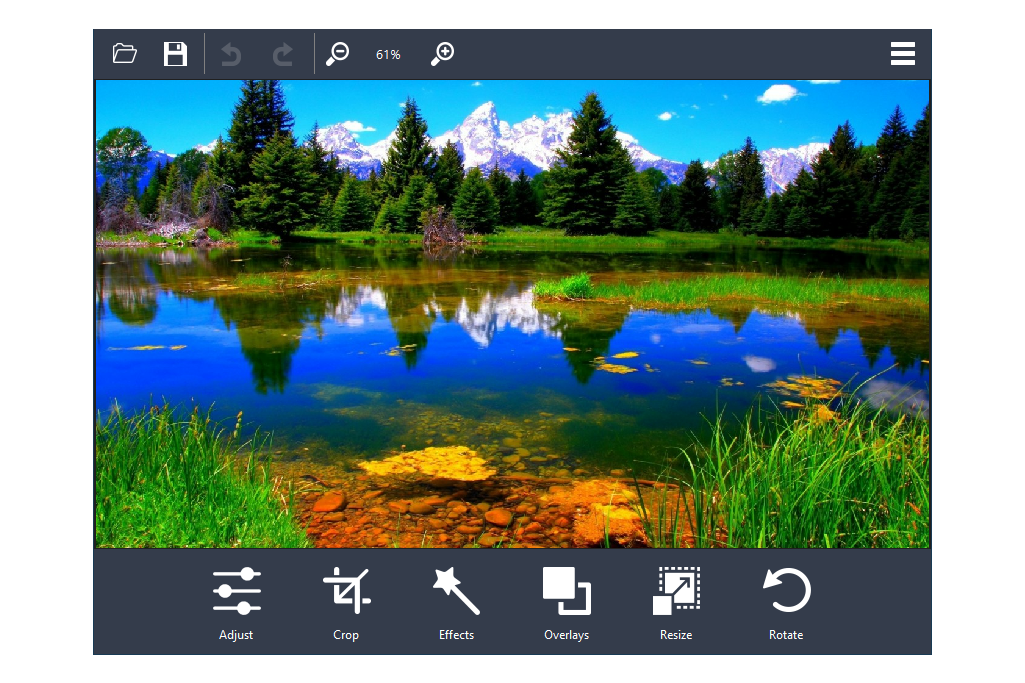
It’s preferable to start with the composition behind the camera’s lens. With drone photography, this isn’t always achievable. It’s not always possible to get the perfect shot. Cropping a photo for the best composition is possible with software editing tools.
Rule of Thirds
The ‘Rule of Thirds’ and the Triangle are the most popular composition layouts. Triangle photos are visually appealing and well-balanced. The important picture items are grouped in a triangle configuration.
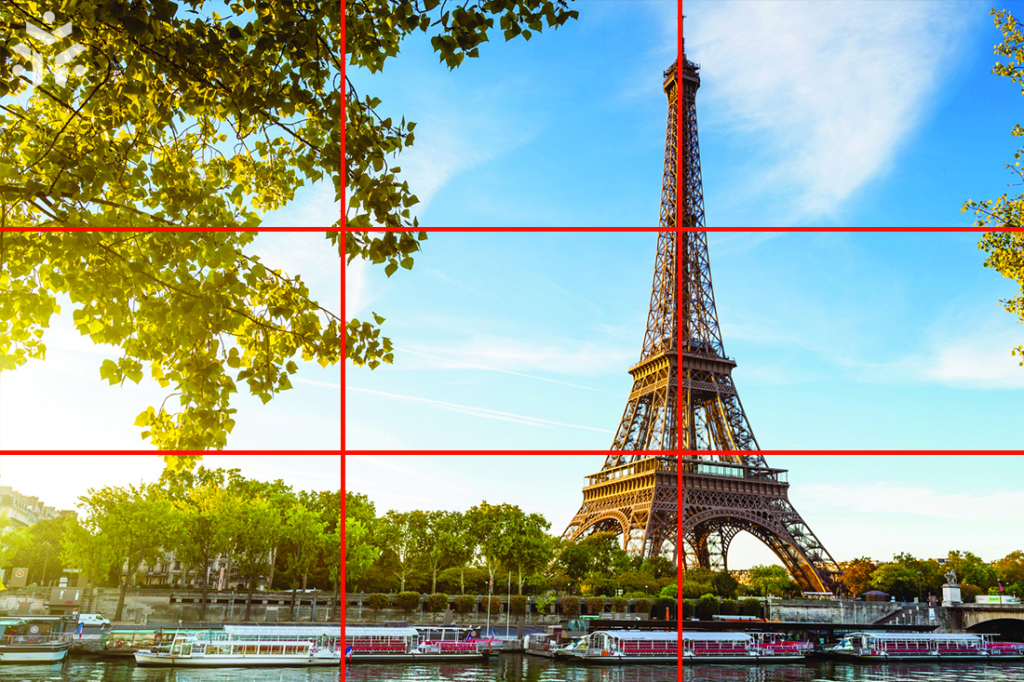
The most important part of drone photography is the ‘Rule of Thirds.’ It divides a picture plane into nine portions using two vertical and horizontal lines, like a tic-tac-toe board. The intersections of lines naturally capture the viewer’s attention. They’re the best spots in an image for photo objects. Photo editing also allows you to remove sections of an image that you don’t want.
Take a Number of Shots
Taking many images of a scene helps when adding shadows and effects because you can modify photos. Drone cameras contain features like live photo and bracketing that allow you to take multiple photos of the same image.
You can find the greatest images using this method. Additional editing yields wonderful results. For shooting moving objects, the multiple or burst mode is ideal. It allows you to take three to seven images in a row. One of them will almost certainly be perfect.
Wide-angle photos are possible using the panoramic mode. Panorama settings include spherical, 180-degree, horizontal, and vertical views. Each mode combines multiple shots to create big, wide-angle images.
Nine photos are used in the horizontal mode, three in the vertical format, and 21 photos are stitched together in the 180-degree mode. To make a large spherical image, many sphere images are stitched together. For two reasons, taking repeated exposures is a smart idea.
Drone photography exposures reduce the amount of time an image is exposed on a smartphone screen. Second, photographs made up of multiple exposures produce detailed shots. Auto Exposure Bracketing produces photos with a wide dynamic range.
Modes of the Camera
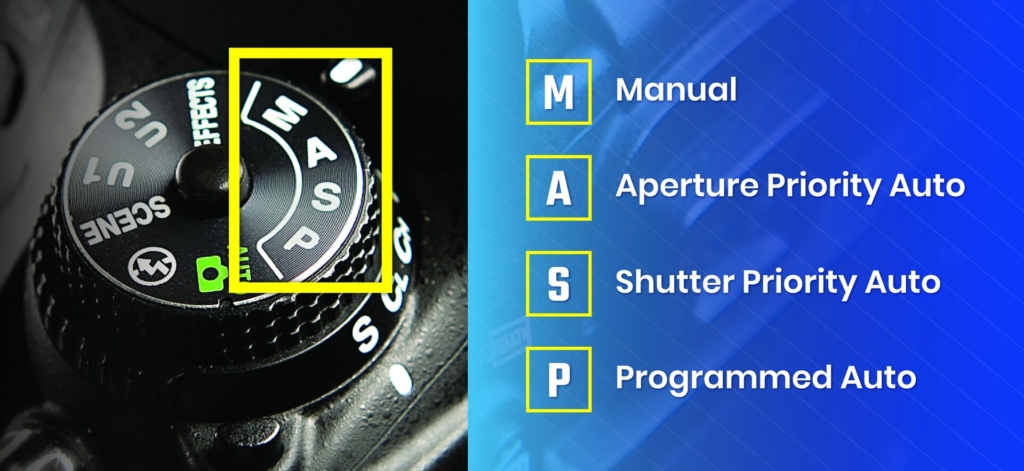
Using the camera’s auto mode limits certain settings and may provide results that aren’t exactly what you want. For outstanding aerial images, use the manual mode to change the ISO settings of the camera. The ISO settings enable you to capture a variety of lighting conditions.
As the light dims, a higher ISO rating allows you to take images without using the camera’s built-in flash. It’s all about resolution when it comes to drone photography. The better the resolution, the lower the ISO. Other variables, such as shutter speed, are also at your control.
The manual mode allows you to practice shots indefinitely. Using the lowest setting ensures that an image has the highest possible resolution. Between 100 and 200 is the lowest ISO level. When shooting outdoor objects in direct sunshine and indoor static subjects or landscapes with a tripod, use them for the best image quality.
When lighting conditions are good, medium settings between 250 and 400 are ideal for drab weather images and catching movement. Low light scenes, night photography, pop concerts, and catching quick motion in indoor or dreary conditions all require high settings between 500 and 800.
Flying Stability
The quality of the drone and camera are crucial in obtaining excellent drone images. The results will be fantastic if the drone has a solid flying ability. A crucial factor is the drone pilot. He or she must control the drone’s flying at the proper angles in order to take attractive photographs.
Learning to fly should come first, followed by footage and aerial images. Knowing how to take original photography views that aren’t seen every day is key to getting a unique viewpoint from drones. Knowing the drone entails more than being able to operate it precisely and securely.
It entails understanding how to make the most of the technology available. Be aware of a drone’s limitations. The sensor is usually smaller than that of traditional digital cameras. Especially in low light, you won’t be able to capture the same dynamic range or details.
Recap
In Real Estate Photography, it’s critical to follow the advice above. Drones are used by companies like Alex Photography to provide real estate photography services. Links to more information about aerial photography are included with the tips.
Whether you just got a drone as a gift (we know drones are one of the best gifts for people who have everything) or have been flying for a while, the suggestions above will help you improve your aerial drone photography and make the most of your eye in the sky. Editing is a process that enhances the beauty of a photograph.
It’s used to boost contrast, remove highlights from videos, resize, straighten, and fix color. To assist, software solutions are available. There are parallels between aerial and ground photography. Photos taken with a good drone, camera, and some flight experiences are superior to those taken on land.
