Aerial photography has been around since the mid-nineteenth century, when photographs were shot from hot air balloons, airplanes, and helicopters. Aerial photography has gone a long way since then. Photography has always been a work in progress.
The pursuit of perfection continues, from pinhole cameras to new mirrorless sensors. Despite advancements, no breakthrough has proven as revolutionary as photographing from the air while the photographer remains on the ground.
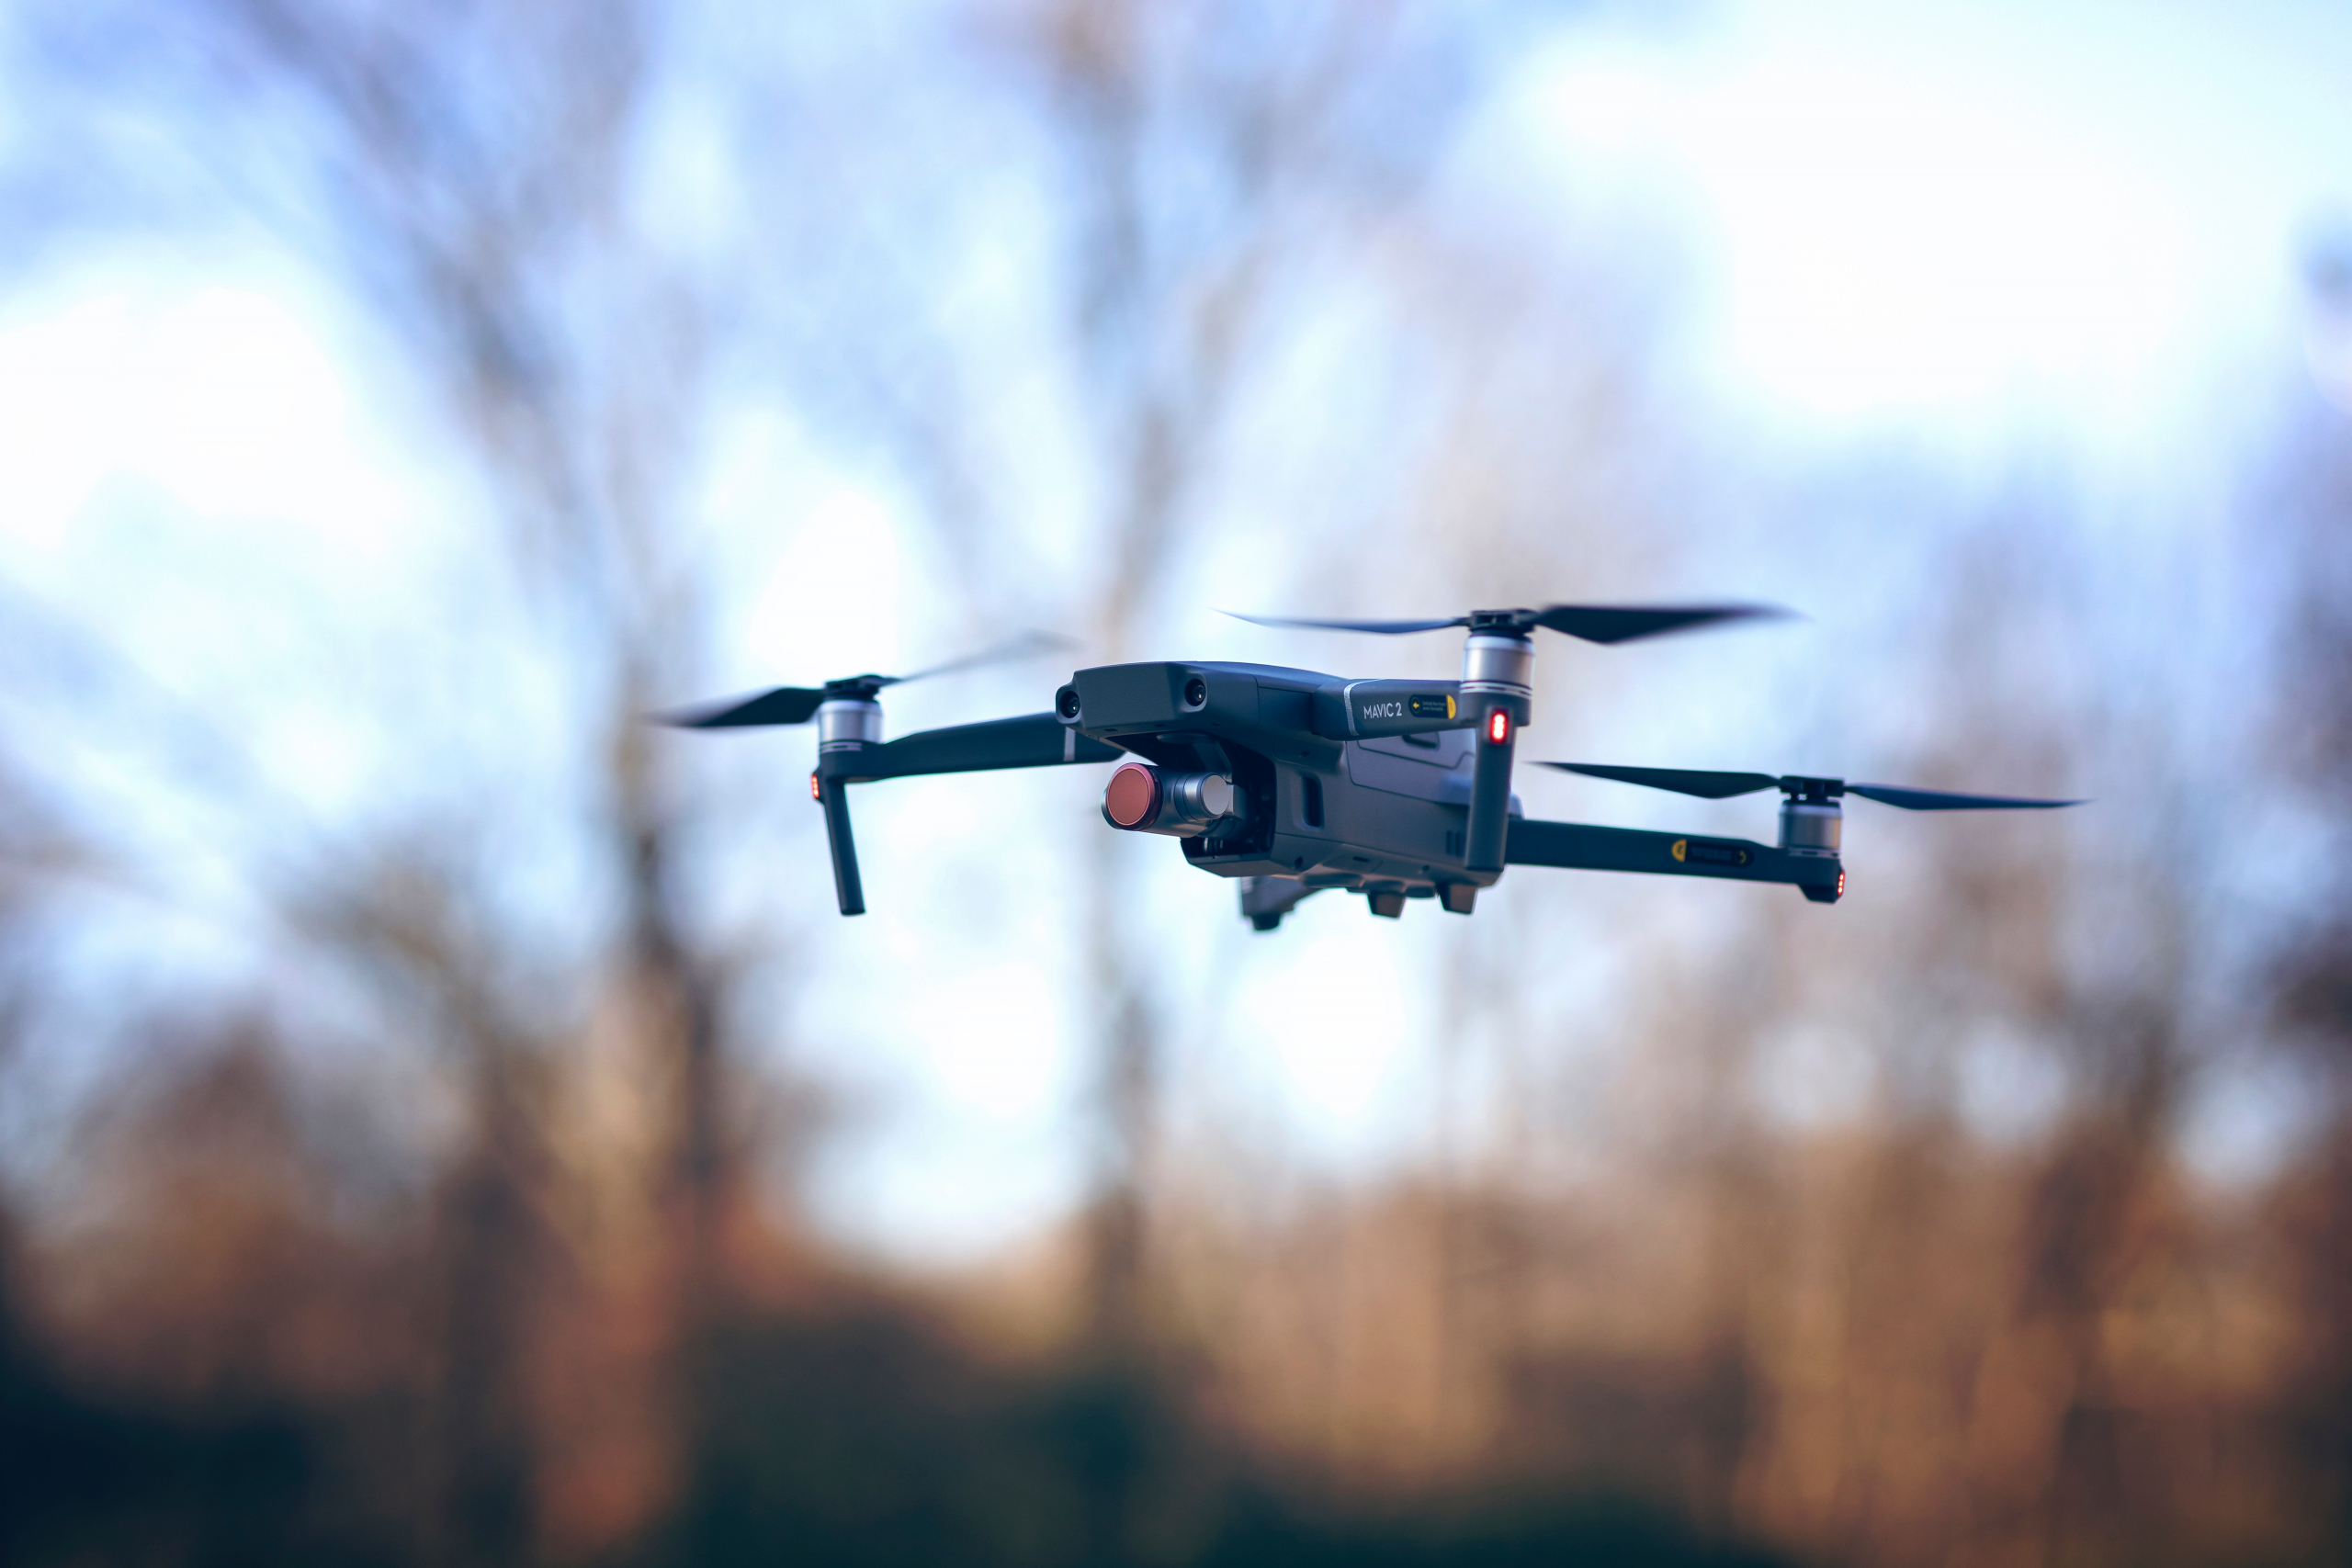
Drone photography has had a gravitational pull on the industry that has never been seen before. Drones, which cost less than the price of renting a helicopter for an hour, may now provide perspectives that previously required a helicopter or airplane.
The rotor-driven quadcopter’s versatility allows for compositions and views that were previously impossible or prohibitively expensive. This article is for those who want to use a drone to take professional-looking photos.
Cityscape images with a variety of skylines and hovering buildings are appealing. Experiment with various viewpoints to determine what works best. Drones that can be controlled remotely provide new perspectives and angles. From the air, all sites appear to be the same, particularly in cities like Miami Beach, Paris, and London, where the bulk of buildings are of comparable heights and architecture.
It’s a good idea to familiarize yourself with the location being photographed using Google Maps before embarking on an aerial job. The usage of landmarks aids in the identification of a structure from the air. Although the premise may appear apparent, some photographers believe that objects that are easily located in an aerial portion of Google Maps are also easily found from the air.
Unless you’re photographing a well-known site, make sure the location is clearly marked. Without doing so, a photographer is quite likely to miss a building and be obliged to return after becoming familiar with the area on the ground. Aerial photography becomes prohibitively expensive at this point.
Make Sure the Lighting Is Right

Sunset and sunrise are the greatest times to fly and shoot spectacular pictures for outdoor and landscape photography. The light is often more favorable for background and foreground features in the evening and morning.
When the sun is shining brightly during the day, use directional lighting. Avoid taking photos in direct sunlight. Photograph with the sun or at an angle to the sun to make photographs that are almost dark. Low light is thought to be bad, while much light is thought to be good. Shortly before sunset, some of the most gorgeous portraits are taken. The light that is cast gives the subject a pleasing and warm glow.
When photographing portraits, front lighting is lovely and soft. When photographing still objects, such as food, the use of front light might result in unsightly shadows. It’s possible that the image will appear lifeless and flat. In most cases, back or side lighting is preferable. Sunset images that are well-executed are breathtaking.
Use the Rule of Thirds to Your Advantage

Moving objects away from the center is referred to as the rule of thirds. It’s a technique for improving image balance and composition that may be used on any subject. The subject placed off-center appears more natural and attractive to the eye than the subject placed in the center of the frame.
It encourages photographers to use negative space (the empty space around a subject) in their photographs. Horizontally and vertically, divide a prospective aerial shot into thirds. The photographer is given nine boxes as a result of the grid that has been created.
Along the lines, place the most appealing features, notably the four places of intersection. Rather than placing the subject dead center in a shot, use horizontal or vertical guidelines to align it. The rule of thirds is a fantastic place to start, especially when it comes to genres like landscapes. The idea is to take photographs that are both engaging and dramatic. To be stunning, the lines do not have to be flawless.
The Application of Lines

Look for visual leading lines that connect the pieces in a possible photo if there are several elements or topics. Leading lines, when used at the appropriate angle, give an image depth. The viewer is taken on a visual journey and is given a mood using forms and lines.
Horizontal lines denote a lack of movement, as though the image is frozen in time. A horizontal snapshot can be brought to life by rotating it 45 degrees. Diagonal lines generate dramatic and dynamic visuals that draw the viewer’s eye in a diagonal direction.
Vertical lines convey a sense of calm and steadiness, which is simple to produce with drone photography. Drone photography makes it more difficult to generate a sense of discomfort using irregular and jagged lines.
Low horizon photography prevents the photographer from shooting solely high-resolution shots and adds variation to scenic photography. A low angle might help some subjects by emphasizing a different aspect of the subject.
Exposure Settings and Shooting Modes

A drone has automated shutter speed, aperture, and manual settings that allow it to operate dependent on the user’s level of experience and overall necessity. Having complete control of the camera is the greatest way to achieve desired aesthetics for drone photographs.
It’s amazing how frequently auto mode gets the image right. When you start to experience flight instability and low light, you’ll be able to figure out what settings work best for aerial photography. Image clarity is mostly determined by shutter speed. When choosing a shutter speed, a good rule of thumb is to double the focal length of the lens.
Another way to reduce light is to use neutral density filters. Drones with variable apertures are a relatively new invention. Most new models come with lenses that range from f/2.8 to f/11. F/5.6 produces the sharpest photos, according to testing. Prioritize the usage of aperture as your primary exposure technique. Aim for f/5.6 whenever possible.
Take Shots from a Low Altitude

It’s tempting to fly high when taking photos with a drone. That is a valuable technique, but there are limited number of photos to take from a bird’s eye view before a portfolio begins to look one-dimensional and stale. Flying at ten to 15 feet give an interesting perspective. You capture longer leading lines and shadows that still take advantage of the sky as a backdrop.
Keep in mind that you are flying closer to objects and can crash if the drone drifts or you lose altitude. Take some practice flights before snapping photos. You many want a visual observer to help keep the drone from crashing.
Recap
You must be deliberate when taking images to make them stand out from the crowd. Utilize a distinctive composition while keeping to the basics of good photography. Aerial photographs are elevated above the ‘wow’ impact by careful composition.
Using Google Earth, scout sites for picturesque photos that you want to take. Before you take off, visualize the scenario. Photographers can uncover photographs not achievable without a drone by flying over awe-inspiring and changed landscapes from a bird’s eye view.
Commercial drone photography gives photographers and filmmakers a unique perspective that others can’t match. Pushing your creative boundaries often yields unexpected and spectacular results. Play about with movement, focal length, aperture, and shutter speed to see what you can come up with.
Experiment with using many lines without overcrowding your photographs. Lines have a psychological effect on those who examine images. Drones are changing the way aerial photography is done. As you play with these approaches, you can expect to see some incredible images.